| Logitec Webcam Conversion |
|
| This is one of those projects that kept evolving, and evolving, and ... I selected a Logitec Pro9000, and decided to do a conversion that would address most of the issues that can plague a night of imaging.
| |
|
The Build: The first step was to disembowel the Logitech camera and take lots of careful measurements. The Circuit board and camera parts were then "built" in CAD to (hopefully) minimize surprises later. I got lots of good information from Gary Honis' web site, and I recommend this site as a starting point for anyone considering a Pro 9000 conversion. All the metal parts were made from 6061 Aluminum bar stock: |
|
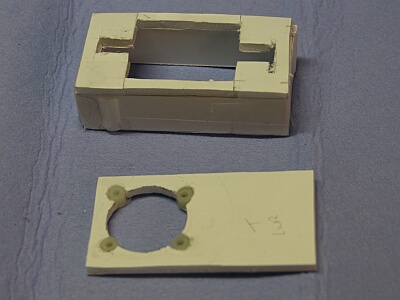
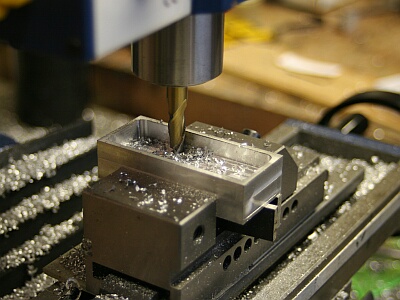 Carving out the inside of the coffin |
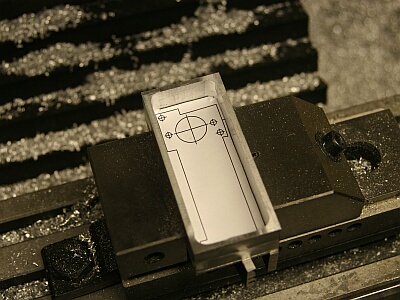 Check the fit with a CAD template |
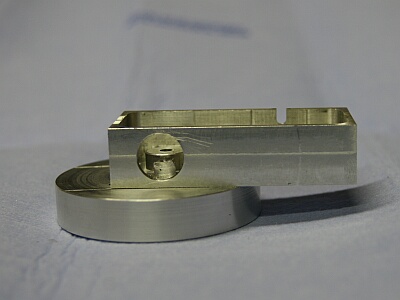
 Front end in progress - T threads for the snout | 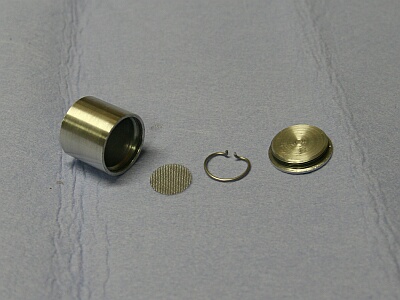 Parts for the silica gel canister - The other end threads into the camera body |
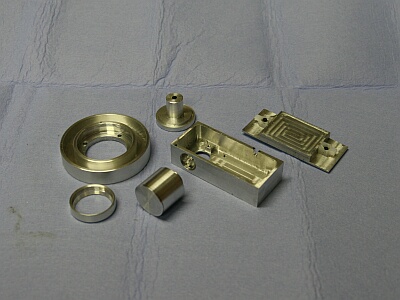 | At left: All the metal parts. The coffin lid has a recessed contact pad to keep the TEC chip in place. The small ring is the mount for the behind-the-snout filter (it was easier to make this as a separate piece). The stepped shaft is an alignment fixture used during assembly to make sure the camera chip ends up in the center of the mount. Nylon hold-down clips for the TEC heat sink can be seen installed on the coffin lid. |

|  |
| Above: Two views of the camera body and the mount with the shaft holding everything in alignment. The camera box plastic, insulation board and nylon standoffs will go in between at final assembly. The silica gel canister threads into the hole in the side of the coffin. |
|
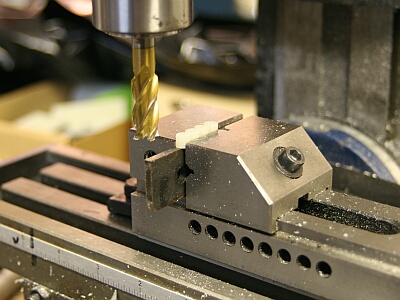 |
At left: To prevent the insulation board from compressing under load from the mounting through bolts and messing up the alignment, nylon standoffs the same length as the thickness of the insulation board were installed in the board. Here, they are all lined up in the mill for trimming to the same length. |
 Insulation box with standoffs installed | 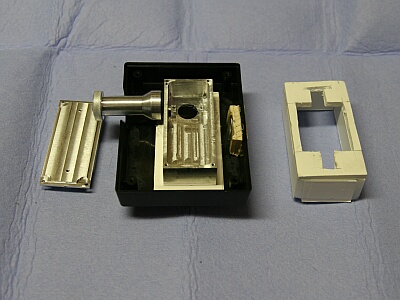 About ready for the camera board |
| Above: The long thing sticking out of the side is a "service plug". It's installed in the hole where the silica gel canister goes to keep out dirt and moisture when the canister needs to go to the oven for a recharge, or in this case to keep things clean during assembly. |
|
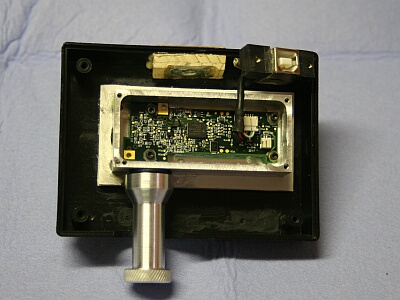 | At left: Camera board installed. USB cable will be sealed with butyl where it passes through the coffin. The wooden thingy at the top is a blind nut mounting plate so the camera can be mounted on a standard tripod. Plenty of room left for the TEC temperature control electronics. |
| Below: Making the insulated cap for the silica gel canister. It started life as plastic 35mm film can. A couple of wraps of tape for side clearance, wrap in plastic film, shoot some "instant foam" into the cap, set everything in place and go away until the foam cures. Trim away everything you don't need. |
|
 Witing for the foam to cure | 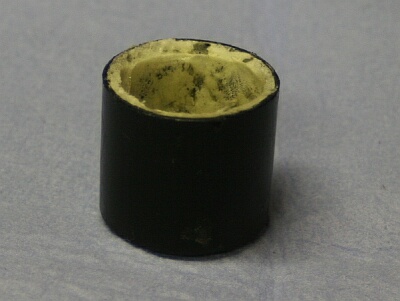 Finished cap |
 Bottom View - USB connector and tripod socket | 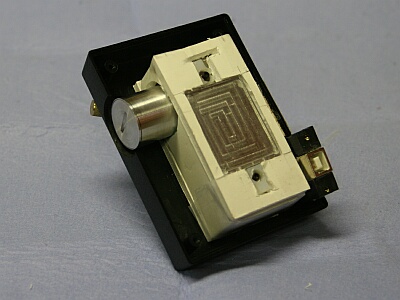 Top view - Coin slot in canister for removal/replacement |
 Bottom view with cap over canister | At this point, we have done about all we can to keep heat out of the coffin. The extra space (when the TEC electronics are installed) will be filled with odd bits of insulation for a little more help. |
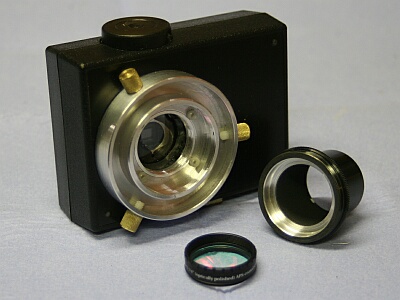 | 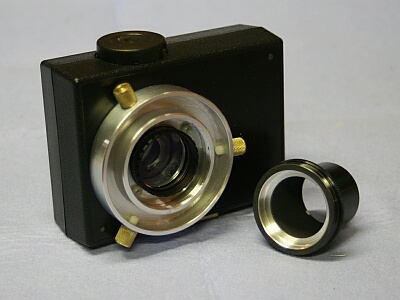 |
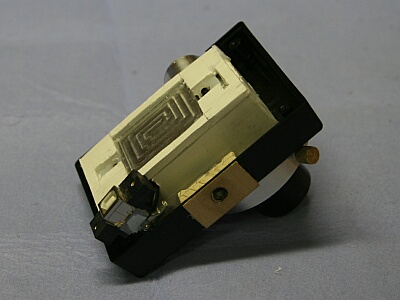
| Above Left: The 1/10 wave window in the coffin is just visible. Also visible is the butyl (which was ALMOST too much butyl) that mounts the window. The window came from The Surplus Shed. If you've not yet browsed their site, I recommend that you do. They have all kinds of interesting goodies at pennies on the dollar. This 1mm x 25mm 1/10 wave window was less than $10. Also shown here is the inner filter mount and the milled-out back of the snout so it will clear an installed filter. Above right: UV/IR filter installed. Also visible in the photos above are the nylon through-bolts that hold everything together. They are one more bit of the thermal insulation scheme. This camera has NO metal-to-metal contact points between the cold parts and the hot parts - even the TEC heat sink spring clip blocks are nylon. The snout is a standard T-thread part (except for the milled-out back). | |
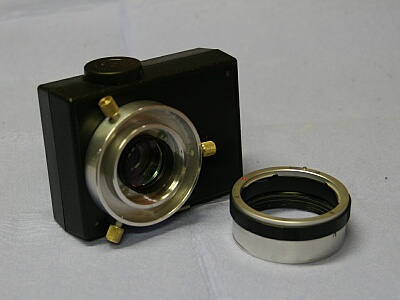 | 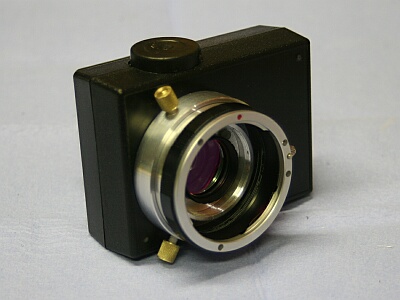 |
| Above : Remove the T-thread snout and attach a bayonet mount if you want to mess about with the camera without setting up a scope. Canon lenses have a 42mm back focus, which fits well within the scope of this disign. This part was an afterthought, but it provides unintended features which may be useful during astronomical imaging. I originally designed the mount with a wide flange base. This was NOT to accommodate an SLR lens, but to distribute flexure forces over as wide an area as possible. The inner filter provides a "dead-air" space in front of the window, which should help prevent condensation/frost on the front of the window. The additional surface area provided by the SLR tube mount will (I hope) be useful in the first improvement modification planned: I plan to make a fiberglass or plastic duct to divert a portion of the warm air coming off the TEC heat sink around the side of the camera where it will dump on the outside of the SLR mounting ring. This should keep the front of the camera at least a few degrees above ambient, and make it self-dew-heating. We'll see. I'll post the results here when I get that part done. |
|
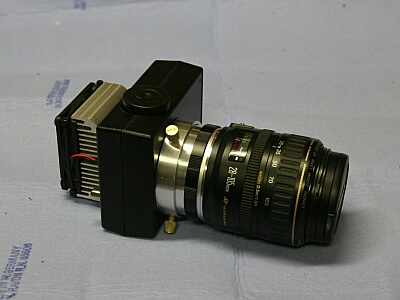 | Completed camera with Canon setup. - Details: Butyl sealed the coffin lid and bolted it shut, heat transfer compound on the TEC module, wired it up and snapped on the heat sink clips. Wait for clear skies... Wait for clear skies... |
 | Ran out of patience First light on a bad night January 10, 2010 - Mars low in the Eastern sky, thin icy whisps moving in, image jumping around the frame, try it anyway. Managed to get 22 of 600 frames to stack. Can't wait for a good night... |
| Below: A couple of test shots with a Canon lens. Based on these, I don't expect any nasty surprises when the skies finally clear and I get to try it again for real! | |
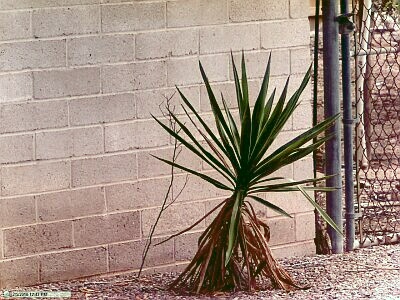 |  |
| As the saying goes: "Stay Tuned" Hopefully there will be some decent images here soon. This has been a fun project. Sherie says it has kept me off the streets and out of trouble for the past couple of months! | |